Looking For Outdoor Lighting Installation? Here Are 10 Things You Should Know
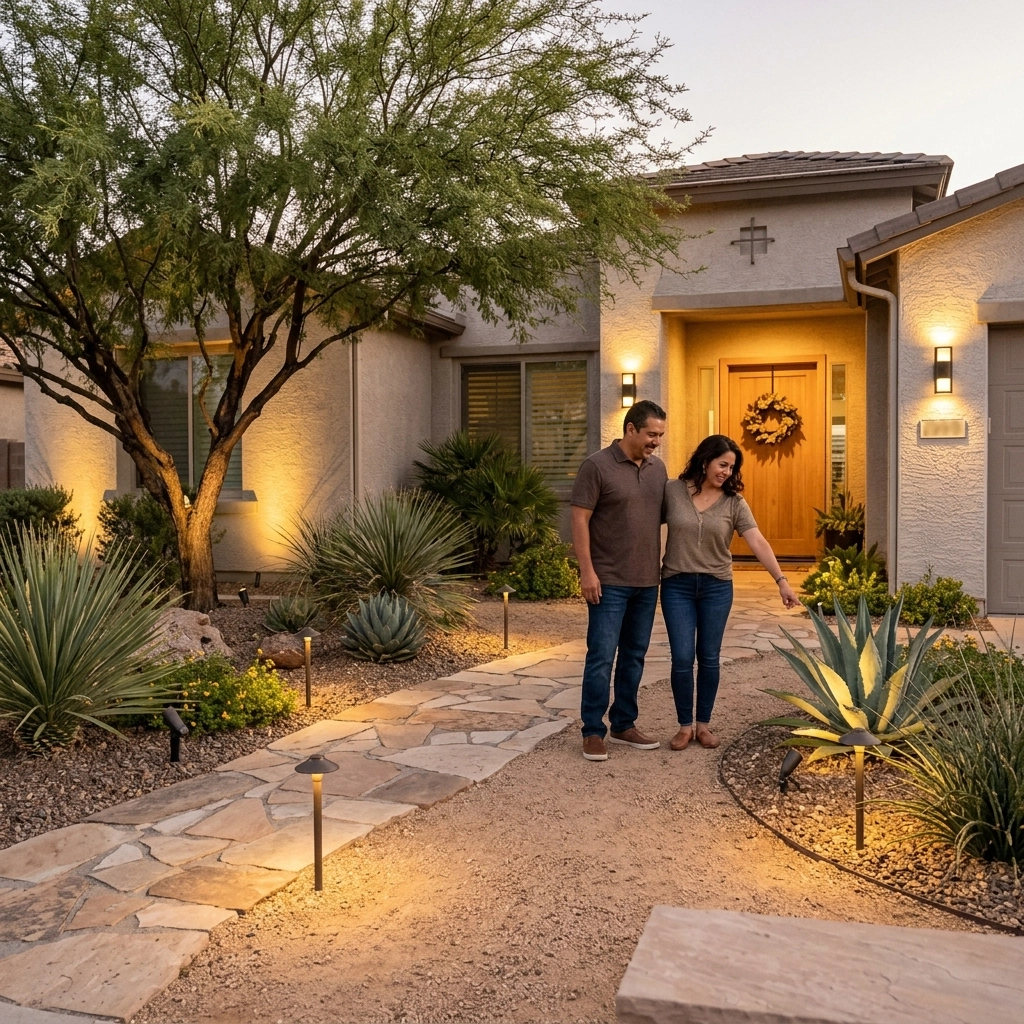
Imagine it’s a warm Saturday evening. Marcus has just finished grilling dinner for his family on the back deck. As the sun dips below the horizon, the yard goes from a vibrant green sanctuary to a wall of deep shadows. He realizes that while the deck has a few lights, the rest of the property: the majestic oak in the corner, the winding stone path, and the new flower beds: is completely invisible.
Marcus, like many homeowners, starts thinking about outdoor lighting installation. It seems simple enough on the surface: buy some fixtures, stick them in the ground, and plug them in. However, once you start looking at transformers, voltage drop, and burial depths, the project can feel a bit overwhelming.
Before you start digging up your lawn, there are several critical factors to consider. This isn't about scaring anyone; electricity is entirely manageable when you understand the mechanics. It’s simply about ensuring your home remains safe while looking its absolute best. Whether you are aiming for better security or that high-end "resort" feel, here are 10 things you should know before installing outdoor lighting.
1. Safety Starts at the Breaker
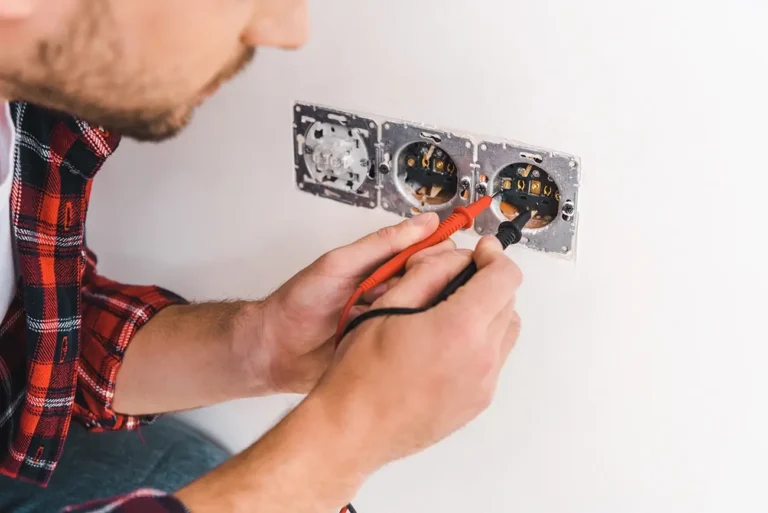
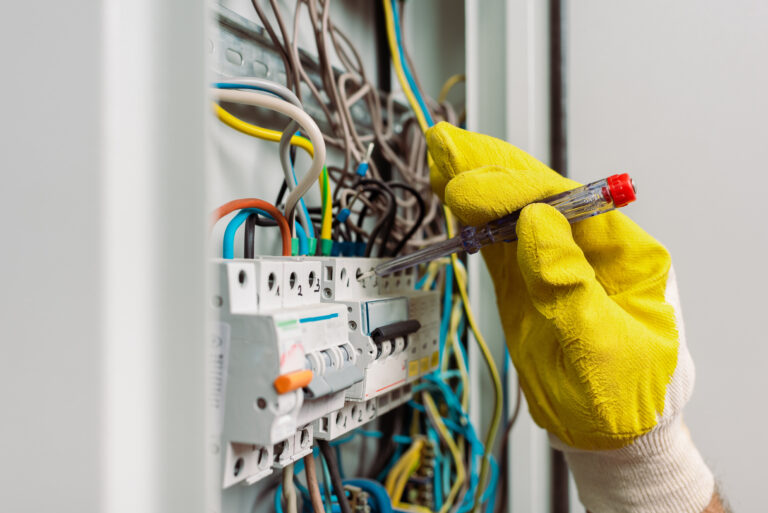
Before a single wire is touched, the most important step is cutting the power. Even if you are working with a low-voltage system that uses a transformer, you are still connecting it to your home’s primary electrical system.
Always turn off the main breaker in your electrical panel that feeds the outlet you intend to use. Here’s what that really means: even when you flip a wall switch to "off," there is still "hot" electricity waiting at the outlet. Turning it off at the breaker ensures the line is truly dead. Keep in mind, however, that the wires coming into your home from the utility company are always energized. Stay away from the main service entrance.
2. Understand Your Voltage Options
Most homeowners deal with two main types of outdoor lighting: Low Voltage (12V) and Line Voltage (120V).
- Low Voltage: This is the most common for DIY and residential landscape projects. A transformer plugs into a standard outlet and steps the power down from 120 volts to 12 volts. Think of it like a garden hose vs. a fire hose: 12 volts is much safer to handle and easier to install.
- Line Voltage: This is the same power that runs your microwave or hair dryer. It requires conduit, deep trenches, and usually a professional touch.
If you are looking for curb appeal, low voltage is usually the way to go. You can find more about making your home stand out in this guide to landscape lighting and curb appeal.
3. Size Your Transformer Correctly
The transformer is the "brain" of your lighting system. It takes the high-voltage power from your house and converts it into the low-voltage power your lights need. Most people think they can just buy any transformer, but sizing matters.

To find the right size, add up the total wattage of all the light bulbs (or LED fixtures) you plan to install. If you have ten 5-watt LED lights, that’s 50 watts. You should never load a transformer to 100% capacity. A good rule of thumb is to choose a transformer rated for 20-30% more than your total wattage. This provides a "buffer" that prevents the unit from overheating and allows you to add a few more lights later if you choose.
4. The Depth of Your Cables Matters
One of the biggest mistakes homeowners make is not burying their wires deep enough. For low-voltage systems, you should bury your wires at least 6 inches deep. For line-voltage (120V) systems, the requirement is much stricter: usually 18 inches or more, depending on local codes.
Why does this matter? Imagine Tasha, a homeowner who loves gardening. If her lighting wires are only an inch under the grass, one slip of her shovel while planting spring tulips could result in a cut wire or a nasty shock. Deep burial protects the system from lawnmowers, aerators, and garden tools. If you’re curious about other common pitfalls, check out these 7 mistakes people make with outdoor lighting.
5. Use the Right Cable Gauge
In the electrical world, "gauge" refers to the thickness of the wire. It’s a bit counterintuitive: the smaller the number, the thicker the wire.
For most outdoor projects, 12-gauge or 14-gauge wire is standard. Think of the wire like a straw. If you’re trying to drink a thick milkshake through a tiny coffee stirrer, it’s going to be difficult. A thicker 12-gauge wire allows more "electrical flow" to reach the lights at the end of the line, preventing them from looking dim or flickering.
6. Prep Your Ground Before Digging
If you live in an area with heavy clay or very dry soil, trying to push lighting stakes into the ground can be a nightmare. Many people end up snapping the plastic stakes or bending the metal fixtures.
Here’s a pro tip: water your lawn or flower beds a few hours before you plan to install the lights. This softens the earth, making it much easier to position your fixtures exactly where you want them. If the soil is still too hard, use a large screwdriver or a pilot stake to create the hole first. Never use a hammer directly on your lighting fixtures.
7. Solar Lighting Limitations
Solar lights are incredibly popular because they require zero wiring. However, they aren't a "set it and forget it" solution for every yard. Solar lights need 6 to 8 hours of direct, unfiltered sunlight every day to stay bright through the night.

If your yard is heavily shaded by trees or your house blocks the afternoon sun, solar lights will likely be dim or fail to turn on at all by 10:00 PM. If you do go solar, make sure to let the batteries charge in the "off" position in full sun for 12-14 hours before you first use them. This conditions the battery for a longer life.
8. Leave Slack in Your Lines
When you are connecting your lights to the main cable, it is tempting to pull the wire tight to save money or make it "cleaner." Don't do this. Always leave about 18 inches of extra wire (slack) at each light fixture.
Why? Landscaping changes. Trees grow, bushes get wider, and you might decide next year that a light looks better three feet to the left. If the wire is tight, you’re stuck. If you have slack, you can move the fixture without having to splice in new wire. Think of it as "future-proofing" your yard.
9. Watch Out for Voltage Drop
Voltage drop is a technical term for power getting "tired" as it travels down a long wire. If you have a 100-foot run of wire, the light closest to the transformer will be very bright, but the light at the very end might look yellow and dim.
To prevent this, try to keep your wire runs under 100 feet if possible. If you have a massive yard, it is better to "hub" your wires: run one thick cable to a central point in a flower bed, and then branch out shorter wires to each light from that central spot. This ensures every bulb gets the same amount of "electrical push."

10. Follow Local Codes and Get Inspections
Every city has different rules for outdoor electrical work. While you might not need a permit to stick three solar lights in the ground, you likely will need one if you are installing a new outdoor outlet or running line-voltage lighting to a gazebo.
Following code isn't just about red tape; it’s about making sure your house doesn't become a fire hazard. For example, outdoor outlets must be GFCI (Ground Fault Circuit Interrupter) protected. These are the outlets with the "test" and "reset" buttons. They are designed to shut off instantly if they detect moisture or a short circuit, preventing electrocution.
Summary Takeaway
Outdoor lighting is one of the best investments you can make for your home’s value and safety. By choosing the right transformer, burying your wires at the correct depth, and understanding the difference between solar and wired options, you can create a beautiful evening landscape.
Before you start any major project, it is always wise to consult a professional to ensure your panel can handle the new load. If you're wondering if your current system is up to the task, read about why your breakers might be tripping or if it's time for a panel upgrade. Proper planning today means you can sit back and enjoy the glow for years to come.