EV Charger Installation 101: A Beginner’s Guide to Home Charging
Imagine pulling into your driveway after a long day, finally driving that electric vehicle (EV) you’ve been eyeing for months. It’s quiet, it’s smooth, and you know you’re done with the weekly headache of fluctuating gas prices. But as you step out of the car, you look at the standard 120-volt outlet in your garage and wonder: "Is this really enough to keep me moving tomorrow?"
For many homeowners, the transition to electric driving comes with a steep learning curve regarding home infrastructure. You aren't just buying a car; you’re adding a high-demand appliance to your home’s ecosystem. It’s natural to feel a bit overwhelmed by terms like "amperage," "load calculations," and "Level 2 charging."
This guide isn't about scaring anyone into making expensive upgrades. It is about education. Our goal is to pull back the curtain on how home charging works so you can make an informed decision that keeps your home safe and your car ready to hit the road.
The Reality of Charging Speeds: Garden Hoses vs. Fire Hoses
When you buy an EV, it usually comes with a "trickle charger." This is known as a Level 1 charger. You plug it into a standard three-prong wall outlet: the same one you use for a lamp or a toaster.
Most people quickly realize that Level 1 charging is like trying to fill a swimming pool with a garden hose. It works, but it takes forever. On a standard outlet, you might only gain 3 to 5 miles of range per hour. If you have a 40-mile commute, you’d need to stay plugged in for nearly 10 hours just to break even.

This is where the Level 2 charger comes in. Think of this as the fire hose. A Level 2 station uses 240 volts of electricity. Here’s what that really means: it’s the same type of high-powered circuit used by your heavy-duty clothes dryer or your kitchen oven. By upgrading to Level 2, you can jump from 5 miles of range per hour to 25 or even 40 miles per hour.
Takeaway: Level 1 charging is a backup plan; Level 2 charging is the standard for a practical daily driving experience.
The "Brain" of the Operation: Your Electrical Panel
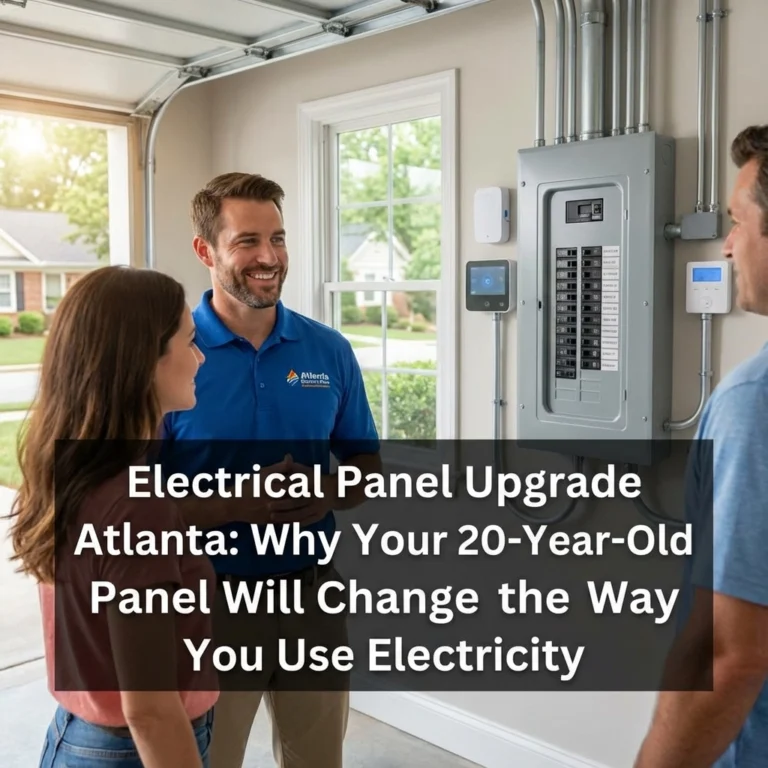
Before you pick out a fancy charging unit with a touchscreen and Wi-Fi, you have to look at the "brain" of your home: the electrical panel.
Most homeowners believe that if they have an empty slot in their breaker box, they are good to go. Unfortunately, it isn't always that simple. Every home has a "service capacity," which is the total amount of electricity the house can pull from the grid at any one time. This is usually measured in amps.
Consider Marcus, a homeowner who recently moved his family into a charming house built in the late 1980s. Marcus was thrilled to get his first electric SUV. His panel had a few empty spaces, so he assumed adding a 50-amp charger would be a breeze. However, once a professional performed a "load calculation," they discovered that if the air conditioner kicked on while the electric dryer was running and the car was charging, the main breaker would likely trip.
This isn't a sign of a "broken" house; it’s a sign that the house was designed for a different era of energy use. A load calculation is just a mathematical way of ensuring your home doesn't "over-breathe" its capacity.
If your panel is nearly full, you have two main options:
- A Panel Upgrade: Increasing your home’s total capacity (e.g., moving from 150-amp service to 200-amp service).
- Smart Load Management: Using a device that pauses your car charger if the rest of the house needs that power for a short time.
Takeaway: Never assume an empty slot in the breaker box means your home has the capacity for an EV charger without a professional load calculation.
Hardwired vs. Plug-In: Which Is Better?
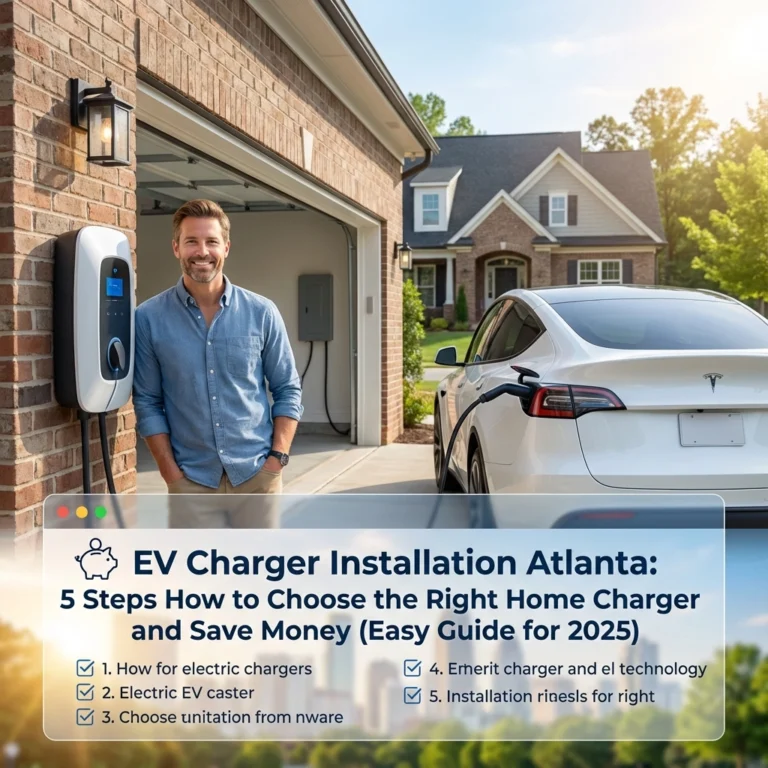
When you decide to install a Level 2 charger, you’ll face a choice: do you want a unit that plugs into a high-powered outlet, or one that is "hardwired" directly into your home’s wiring?
The Plug-In Option
Many people choose to have a NEMA 14-50 outlet installed (this looks like a large, heavy-duty outlet for a dryer). You then plug your charger into that outlet.
- Pros: If the charger breaks, you can just unplug it and get a new one. If you move, you can take the charger with you.
- Cons: Outlets are a point of failure. Over time, the constant heat from charging can cause the outlet to wear out if it isn't industrial grade.
The Hardwired Option
In a hardwired setup, the electrical wire goes directly into the charging unit itself, with no plug in between.
- Pros: It is generally safer and more durable because there are fewer connections that can get hot. It also allows for higher charging speeds that outlets often can't handle.
- Cons: It’s a permanent fixture. If you want to replace the unit or move it, you’ll need to work with the wiring again.
Takeaway: Hardwiring is the gold standard for safety and speed, while plug-in models offer flexibility for renters or people who plan to move soon.
The Installation Process: What to Expect
Installing an EV charger isn't a "weekend DIY" project for most people. It involves high-voltage electricity that requires precision. Here is the typical path to a successful installation:
- Site Assessment: You need to decide where the charger will live. Ideally, it’s near your car's charging port to avoid tripping over cables. The closer the charger is to your electrical panel, the lower the installation cost will be.
- Permitting: Most local jurisdictions require a permit for this work. This is for your protection: it ensures an inspector verifies that the wiring is safe and meets current codes.
- The Run: Your installer will run heavy-duty wire from the panel to the garage or driveway. This might involve drilling through studs or running conduit (protective piping) along the walls.
- Installation and Testing: Once the unit is mounted and wired, it needs to be tested. Professionals use tools to simulate a car being plugged in to ensure the electricity is flowing at the correct rate.

Safety Signals: What to Watch For
We often talk about "signals" rather than "failures." Your home's electrical system will usually try to tell you something is wrong before it becomes a major issue.
- Warmth: It is normal for a charger or cable to feel warm to the touch during a session. However, if the outlet or the wall feels hot, or if you notice a "fishy" or burning plastic smell, stop charging immediately. This is a signal of a loose connection.
- Nuisance Tripping: If your breaker trips every time you plug in the car, don't just flip it back on. The breaker is doing its job: it's telling you the circuit is overloaded or there is a "ground fault" (electricity escaping where it shouldn't).
- Discoloration: Periodically look at your outlet if you use a plug-in model. Any yellowing or browning on the plastic is a warning sign of heat damage.
Takeaway: Treat your charging setup like any other major home system; stay observant and respect the signals it gives you.
Common Misconceptions About Home Charging
"I need to charge to 100% every night."
Most people believe they should treat their car like a cell phone. In reality, most EV manufacturers recommend charging to 80% for daily use to preserve the battery's lifespan. You only need that 100% for long road trips.
"Installation will cost a fortune."
While every home is different, a standard installation usually ranges from $800 to $2,500 including the hardware. When you factor in the money saved on gas and potential federal tax credits for home charging infrastructure, the system often pays for itself within a year or two.
"My electric bill will triple."
Charging an EV at home is significantly cheaper than buying gas. While you will see an increase in your electric bill, you are essentially trading a $60 tank of gas for about $10 to $15 worth of electricity.
Final Thoughts for the Beginner
Stepping into the world of EVs is an exciting transition. By installing a dedicated home charging station, you aren't just making your life more convenient; you’re increasing the value of your property and ensuring your vehicle is treated with the best possible care.
The most important thing to remember is that electricity is a powerful tool that requires respect. Always prioritize high-quality materials: like industrial-grade outlets if you go the plug-in route: and ensure your home's "brain" is ready for the new load.
One final piece of advice: If you’re planning to stay in your home for a long time, consider "future-proofing." Even if your current car only needs a 30-amp circuit, installing a 50-amp circuit now might save you from having to do the whole project over again when you eventually upgrade to a bigger vehicle or add a second EV to the household.
Home charging should be a "set it and forget it" part of your life. With the right preparation, you can wake up every morning with a "full tank" and the peace of mind that your home is operating safely and efficiently.