
Ceiling Fan Installation Secrets Revealed: What Atlanta Electricians Don't Want You to Know
Summer in Atlanta means one thing for most homeowners: running the air conditioning around the clock and watching energy bills climb. You've probably considered adding a ceiling fan to help circulate air and reduce those costs. Maybe you've even watched a few YouTube tutorials and thought, "How hard can this really be?"
Here's the thing: this isn't about scaring anyone away from a home improvement project. It's about understanding what truly matters when it comes to ceiling fan installation Atlanta homeowners can trust for years to come. Some of these details aren't complicated, but they're the exact things that get overlooked and lead to wobbly fans, electrical problems, or worse.
The Ceiling Box Secret Nobody Talks About
Most people think any electrical box in the ceiling will work for a fan installation. After all, if it held a light fixture, it should handle a fan, right?
Wrong.
Here's what that really means: Light fixtures typically weigh a few pounds. Ceiling fans can weigh 25 to 50 pounds: and that's before they start spinning and creating rotational force. A standard electrical box designed for light fixtures simply cannot handle this stress over time.
The requirement is specific: You need a UL-listed metal box explicitly marked "For Use With Ceiling Fans." This isn't a suggestion or a best practice. It's a safety standard that exists because fans mounted to inadequate boxes have fallen from ceilings.
When evaluating your existing ceiling box, look for:
- Metal construction (plastic boxes are typically insufficient)
- Clear labeling indicating fan-rated capacity
- Secure mounting to a ceiling joist or approved brace
If your current box doesn't meet these criteria, it needs to be replaced before any fan goes up. This single step prevents the majority of ceiling fan failures that electricians see in Atlanta homes.

Structural Support: The Foundation of Every Safe Installation
Even with the right electrical box, the installation is only as secure as what that box attaches to. This is where many DIY projects go sideways.
The golden rule: Install the fan mounting bracket directly into a ceiling joist to provide sturdy, lasting support. Drywall alone cannot hold a ceiling fan. Period.
Think of it like hanging a heavy picture frame. You wouldn't trust a nail in drywall to hold a 40-pound mirror. You'd find a stud. Ceiling fans follow the same principle, but with higher stakes because of the rotational forces involved.
When a mounting bracket isn't secured properly, you'll notice:
- Wobbling during operation
- Clicking or rattling sounds
- Visible movement at the ceiling mount
- Gradually loosening screws over time
These aren't just annoyances: they're warning signals that the structural integrity is compromised. A properly mounted fan should spin smoothly and silently without any visible movement at the ceiling.
For ceilings where a joist isn't directly overhead, professional-grade fan braces span between joists to create a secure mounting point. This is standard practice for quality ceiling fan installation Atlanta electricians perform regularly.
The Wiring Precision That Matters
Electrical wiring follows specific color codes for a reason. When those codes get ignored or mixed up, the results range from a fan that simply doesn't work to genuine fire hazards.
The standard connections are:
- Black to black (hot wire carrying power)
- White to white (neutral wire completing the circuit)
- Green or bare copper to ground (safety wire preventing shocks)
Wire connections must be secured with wire nuts and wrapped with electrical tape for proper insulation. Loose connections generate heat. Heat near wiring creates fire risk. It's that straightforward.

If your fan has a light kit or separate speed controls, there may be additional wires: often blue or red: that require specific connections. Mixing these up won't just cause malfunction; it can damage the fan motor or create electrical hazards behind your ceiling.
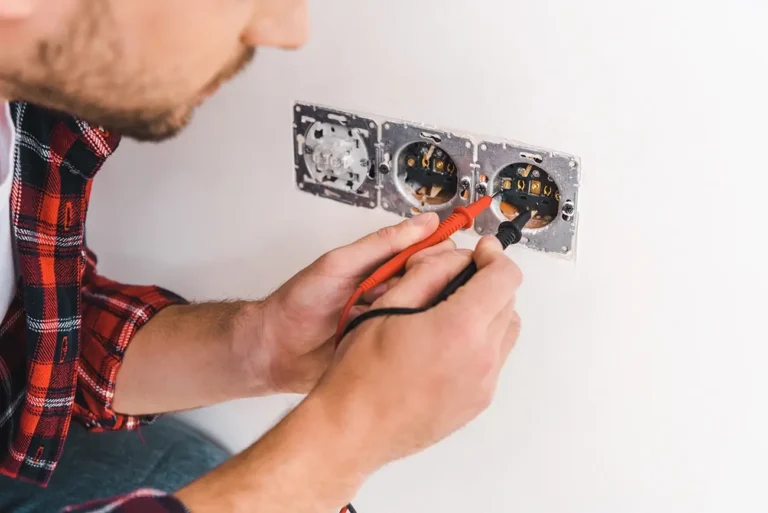
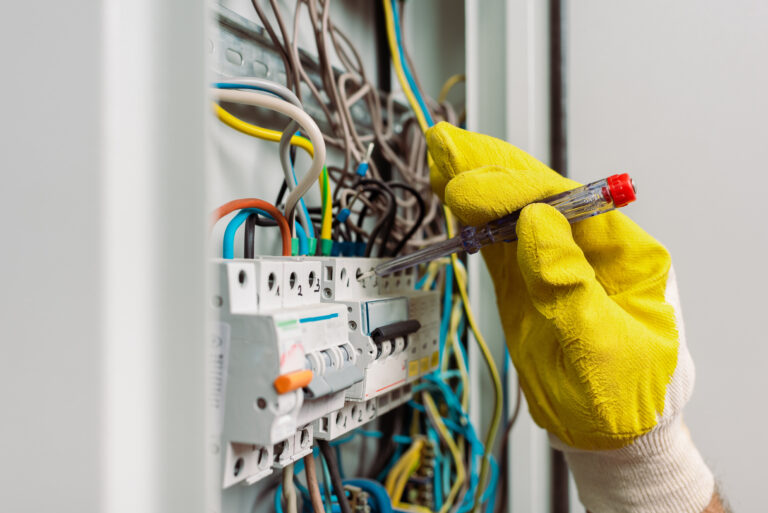
Important safety step: Before touching any wiring, turn off power at the circuit breaker. Then use a voltage tester to confirm power is actually off. Breaker labels aren't always accurate, and the few seconds this takes could prevent a serious shock.
Location and Clearance: Where Your Fan Goes Matters
Picking the right spot for a ceiling fan isn't just about aesthetics. Proper positioning directly affects performance, safety, and longevity.
The minimum clearances to follow:
- 18 inches from walls and any overhanging objects like cabinets or beams
- 7 feet minimum from floor to fan blades
- Centered in the room for optimal air circulation
These measurements exist for practical reasons. A fan too close to a wall creates turbulent airflow instead of smooth circulation. Blades positioned below seven feet become a hazard for taller family members or anyone reaching overhead.
For rooms with standard eight-foot ceilings, a flush-mount or "hugger" style fan keeps blades at a safe height. Rooms with higher ceilings benefit from downrods that position the fan in the optimal airflow zone: typically eight to nine feet from the floor.

Assembly and Balance: The Details That Prevent Problems
A ceiling fan fresh out of the box requires careful assembly before installation. Rushing this step creates problems you'll live with every time the fan runs.
Blade spacing must be even. Uneven blade distances create wobbling that stresses the motor and mounting hardware. Most fans include measuring guides or templates: use them.
All screws need proper torque. Loose blade screws allow movement that compounds over time. Overtightened screws can crack blade holders. The goal is firm and secure without forcing.
Balance matters from day one. If a fan wobbles after installation, don't ignore it. Most fans include balancing kits with small weights that attach to blades. A balanced fan runs quieter, lasts longer, and puts less stress on the mounting system.
When DIY Makes Sense: And When It Doesn't
Some ceiling fan installations are genuinely straightforward. Replacing an existing fan where proper wiring and a fan-rated box already exist? That's a reasonable DIY project for someone comfortable on a ladder with basic tools.
However, professional installation becomes essential when:
- No existing ceiling box exists at the location
- The current box isn't rated for ceiling fans
- New wiring needs to run to the installation point
- The ceiling type requires special anchoring (concrete, cathedral ceilings)
- You want a fan with complex wiring for separate light and speed controls
- Local electrical codes require permit and inspection
Electrical work involving fixed wiring has specific code requirements that vary by municipality across the Atlanta metro area. What's acceptable in Marietta might differ from requirements in Decatur or Sandy Springs. Licensed electricians stay current on these requirements.

Why Professional Installation Protects Your Investment
A quality ceiling fan costs $150 to $500 or more. The installation determines whether that investment performs safely for fifteen years or becomes a problem within two.
Professional ceiling fan installation Atlanta homeowners rely on includes:
- Verification of structural support before any mounting
- Proper electrical box installation or upgrade when needed
- Code-compliant wiring connections that pass inspection
- Balanced assembly for quiet, smooth operation
- Testing under full operation before the job is complete
Beyond the technical work, professional installation typically includes warranty protection. Many fan manufacturers require professional installation for warranty coverage: a detail buried in the fine print that matters when something goes wrong.
The Bottom Line for Atlanta Homeowners
Ceiling fans save money on energy bills, improve comfort throughout your home, and add value when properly installed. The "secrets" aren't really secrets at all: they're the fundamentals that separate a safe, lasting installation from one that causes problems down the road.
The key points to remember:
- Use only fan-rated electrical boxes marked for ceiling fan use
- Mount to ceiling joists or approved bracing systems
- Follow precise wiring color codes with secure connections
- Maintain proper clearances from walls and floors
- Balance the fan during installation for smooth operation
When you're ready for ceiling fan installation done right the first time, Radiant Electric serves homeowners throughout the Atlanta metro area with professional electrical services you can trust.